
Quick Start Guide
This quick start guide focuses on managing application distribution via KMM by selecting an application, creating your first application policy, and creating your first device group. This guide is intended for situations where your device or devices are already enrolled in the enterprise that you administer.
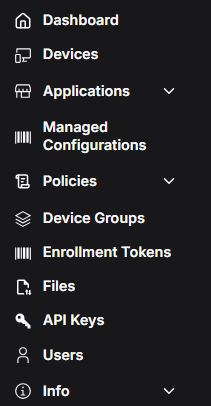
In KMM, once an enterprise is selected, navigation is handled through the menu on the left side of the screen. From there, users can create new policies, manage devices, create device groups, manage applications, and more.
Creating and Applying Your First Policy
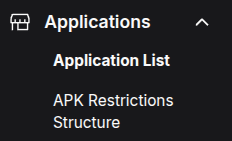
First, select an application to get started. Navigate to the Application List view from the left-side menu.
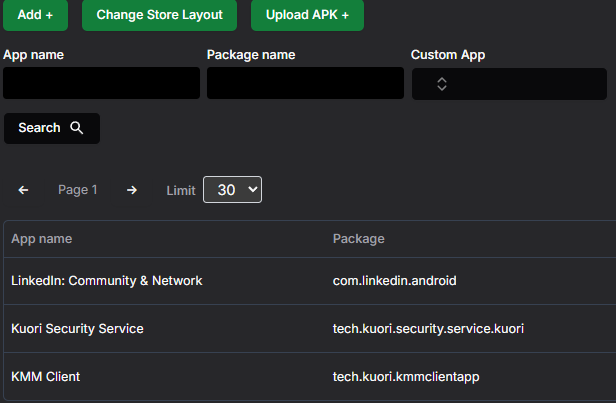
At the top of the view, select Add+ to choose an application from the Google Play Store, or select Upload APK+ to upload a custom APK package.

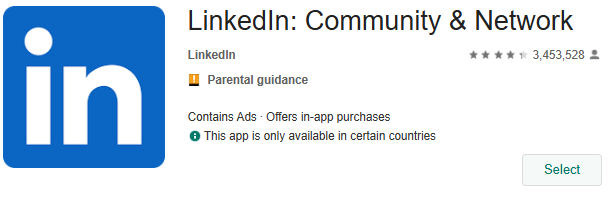
In this guide we will be selecting an LinkedIn application via the Google Play Store.
After selecting the application, navigate back to the Application List view and verify that the application appears in the list.
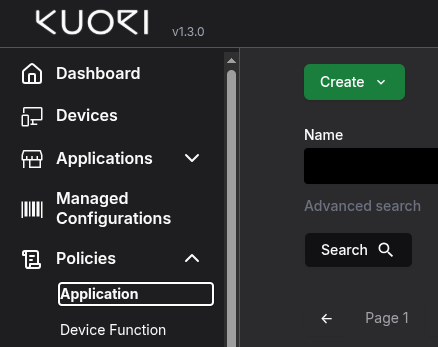
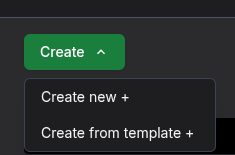
Next, create an application policy. Navigate to Policies > Applications from the left-side menu. Select Create at the top of the page, then select Create New +.
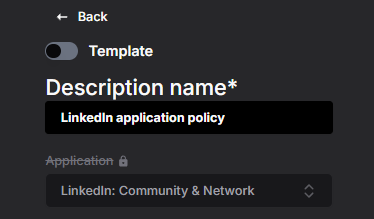
You can now select the application you just added from the dropdown menu. Fill in the Name ID field (Description name) for your new policy. Depending on the application, you may also want to modify some configuration settings. Once finished, press the Save button at the bottom of the page.
Creating a Device Group
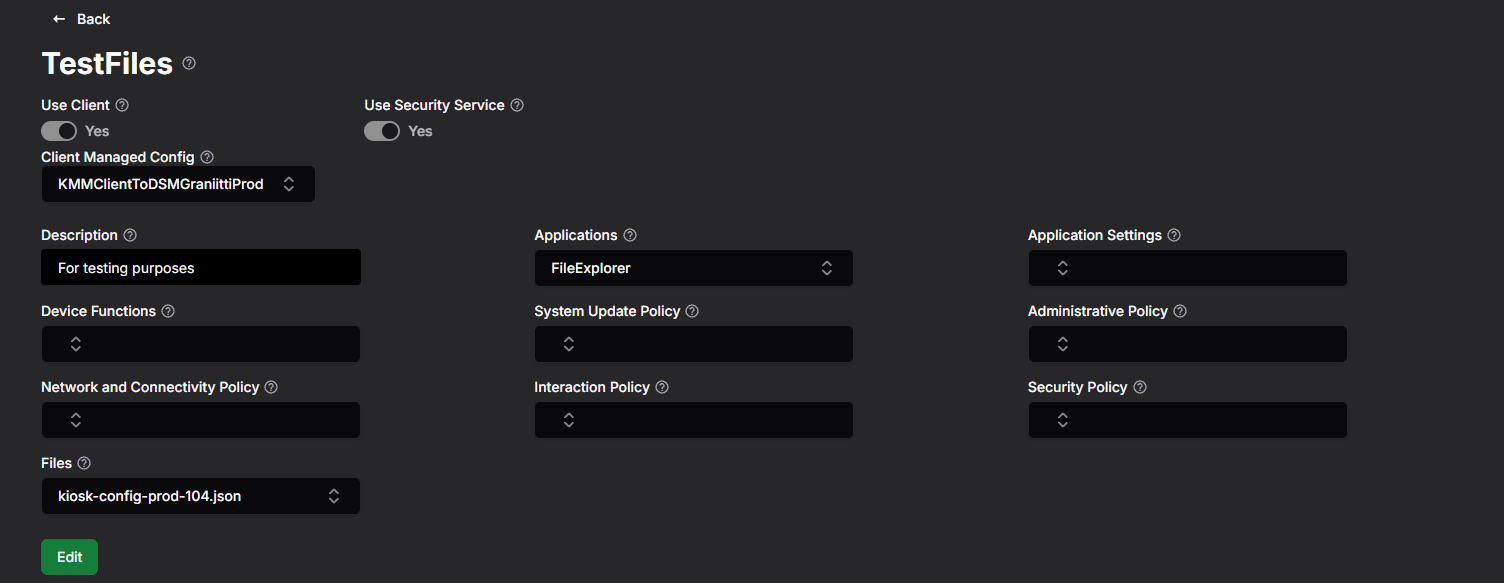
Now that the application policy has been created, you need a device group where the policy will be applied. Navigate to the Device Groups page and press Create +.
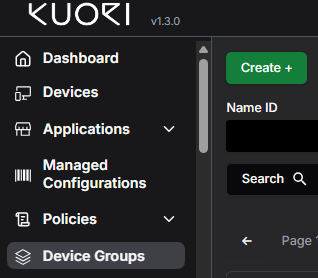
Fill in the Name ID field. Note that the Name ID cannot contain whitespace characters. Under Applications, select the application policy you just created.
here.
Finally, press Save.
Assigning a Device to the Device Group
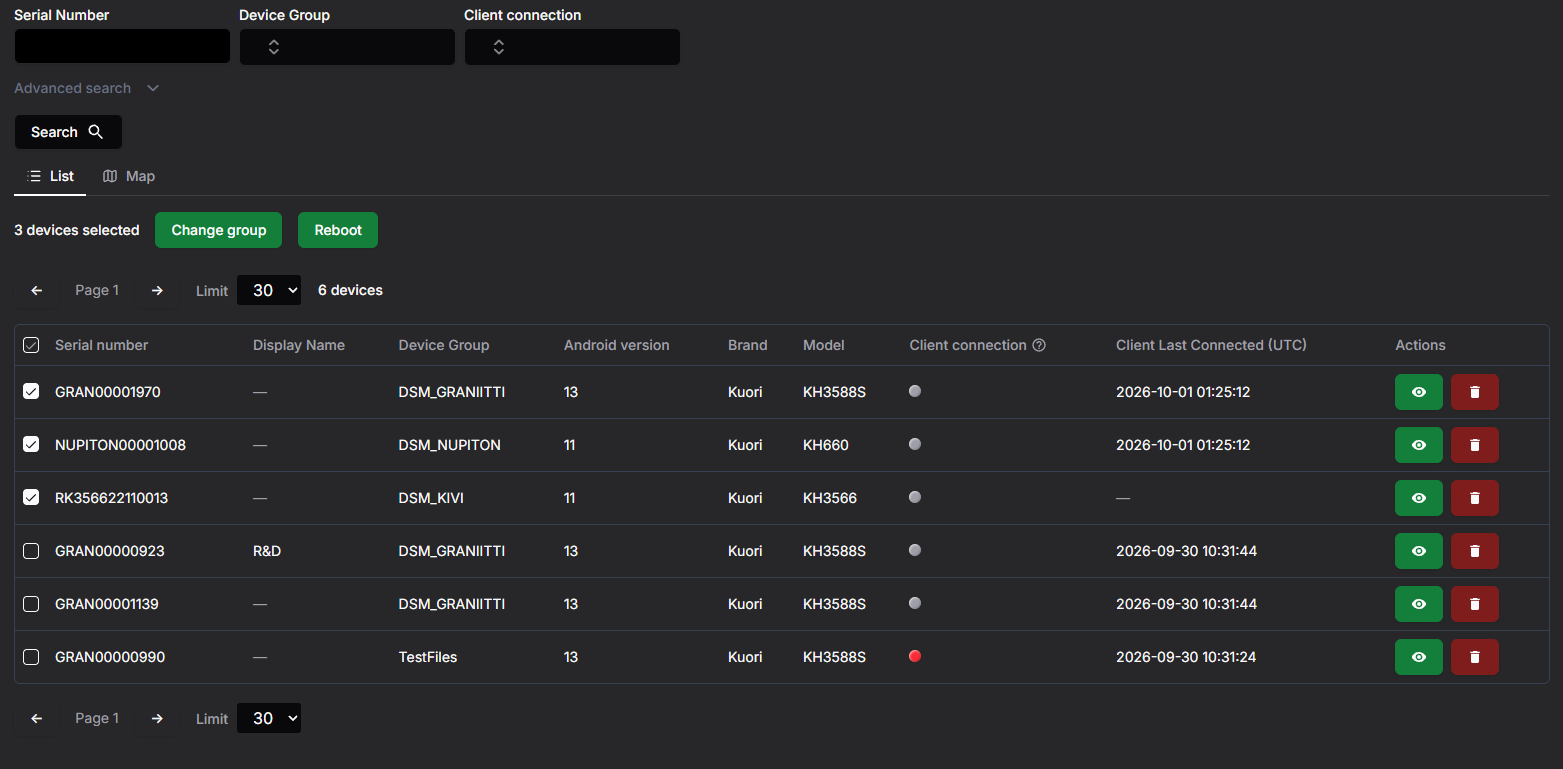
The final step is to attach a device to the newly created device group.
After saving, KMM sends the updated policy information to Google AMAPI. Within approximately 10 minutes, the device will retrieve the updated policy and apply the required changes automatically.


Summary
In this guide, we went through the basic workflow for distributing applications with KMM. We selected an application, created an application policy, created a device group, and finally assigned a device to that group so the policy could be applied automatically.
This example demonstrates the basic concepts of how KMM policies, applications, and device groups work together. In a real production environment, device enrollment is typically handled through automated enrollment methods such as Zero-touch Enrollment or enrollment tokens.
You can read more about automated enrollment methods here.
These enrollment methods allow devices to automatically enroll into KMM during setup, making large-scale deployments significantly easier and more efficient.